I will tell you the inside of this home is unrecognizable compared to where we started, which is a very good thing. While the scope

Remodeling, decorating and updating at home and in the garden
I will tell you the inside of this home is unrecognizable compared to where we started, which is a very good thing. While the scope
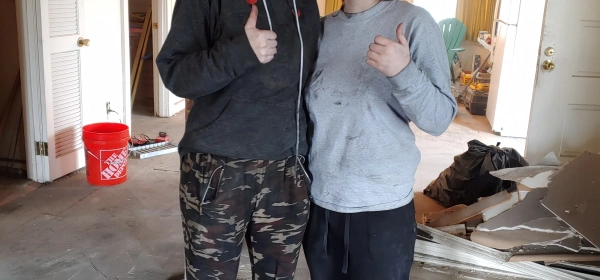
The demo lasted a very long time, while demo isn’t super exciting it is important to me to record as much of it as possible

I discussed the removal of the flooring, wallpaper and ceiling tiles in my last post, which in all honesty was probably some of the easiest

I love watching DIY / Home shows just as much as the next person… I mean sometimes I feel like if I am not working

We bought an old house and have gutted it!

I guess I can sort of call the work on the Laundry Room a renovation, as we did strip a lot of it down to
